In the box
 A1 Unit
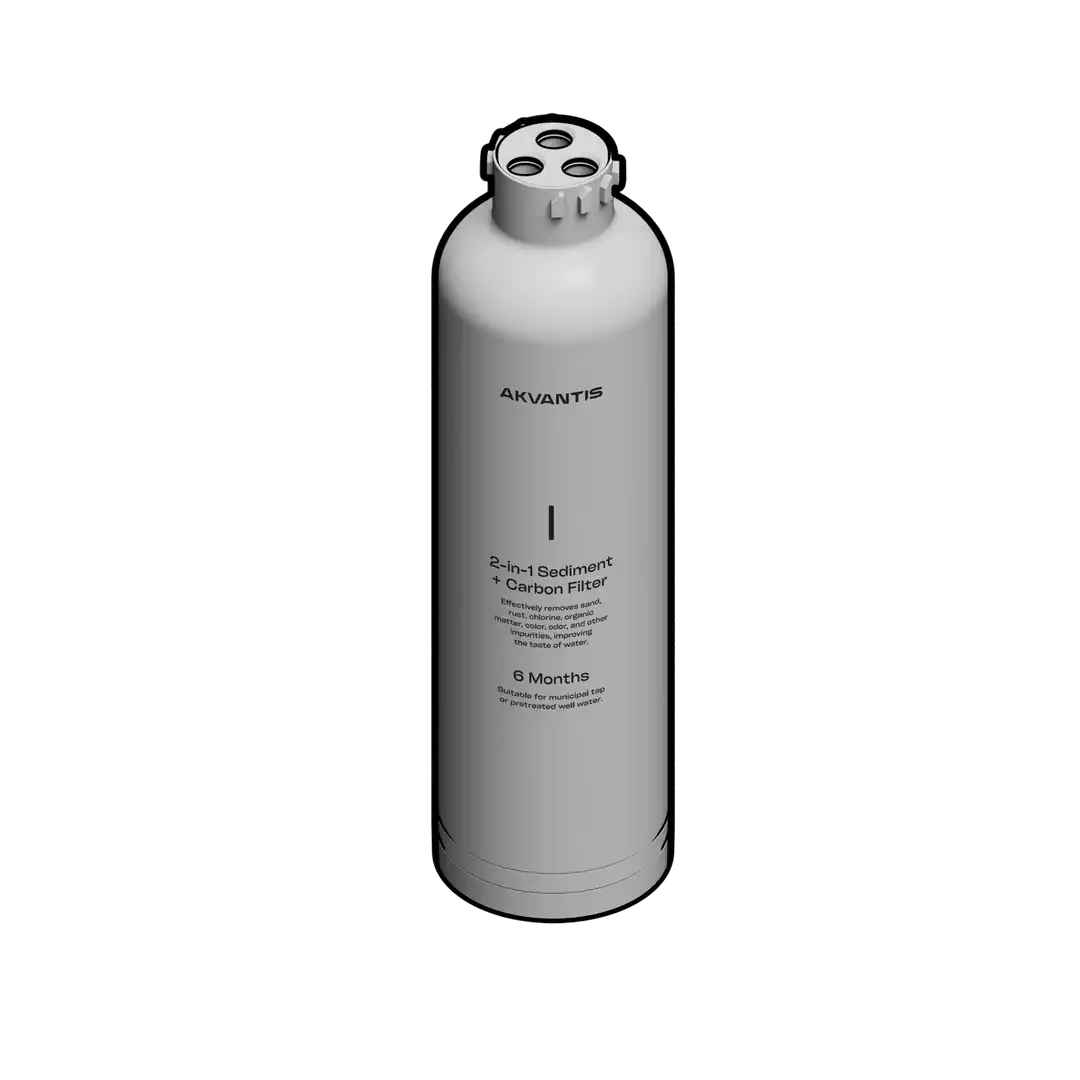 2-in-1 Sediment + Carbon Filter
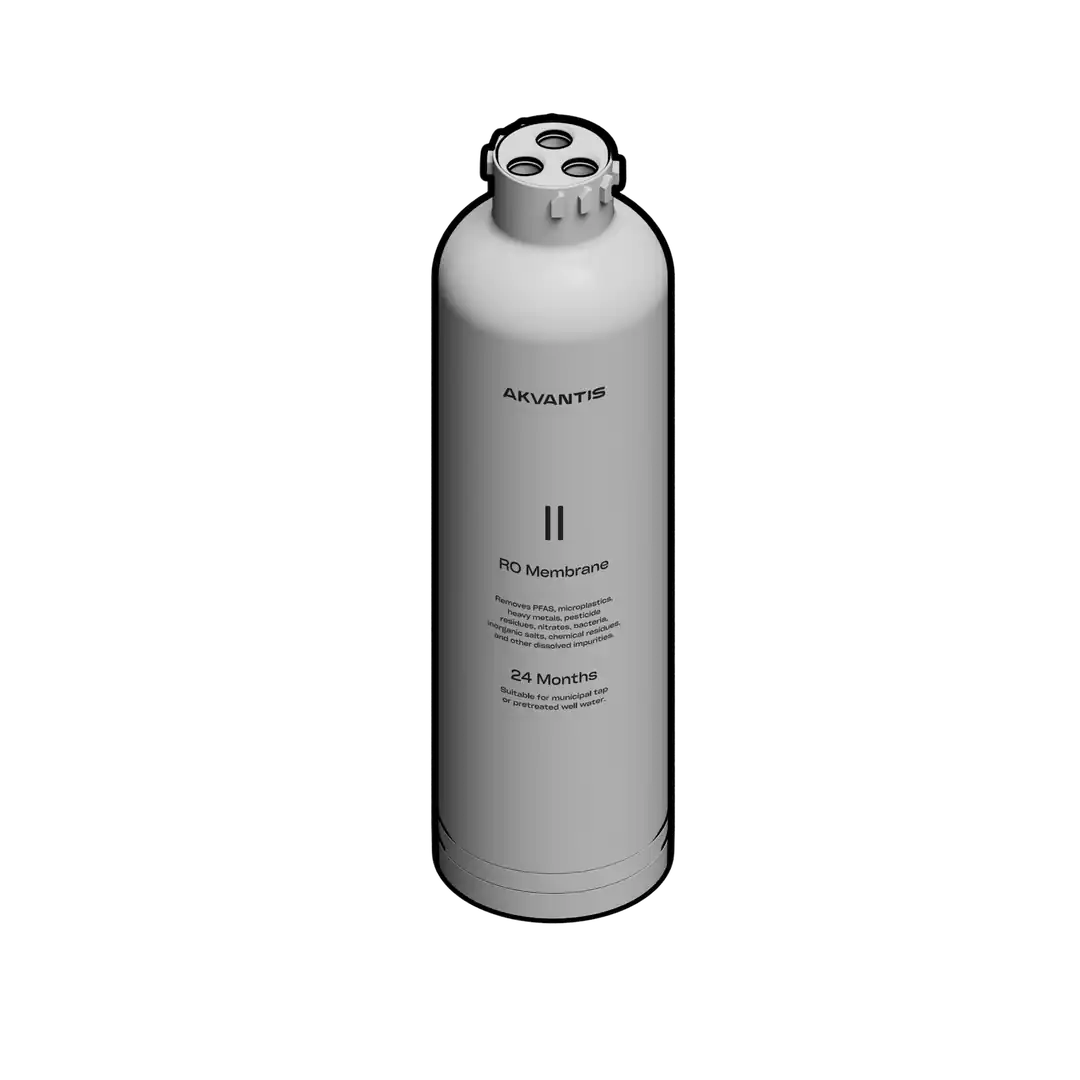 RO Membrane
 Power Adapter
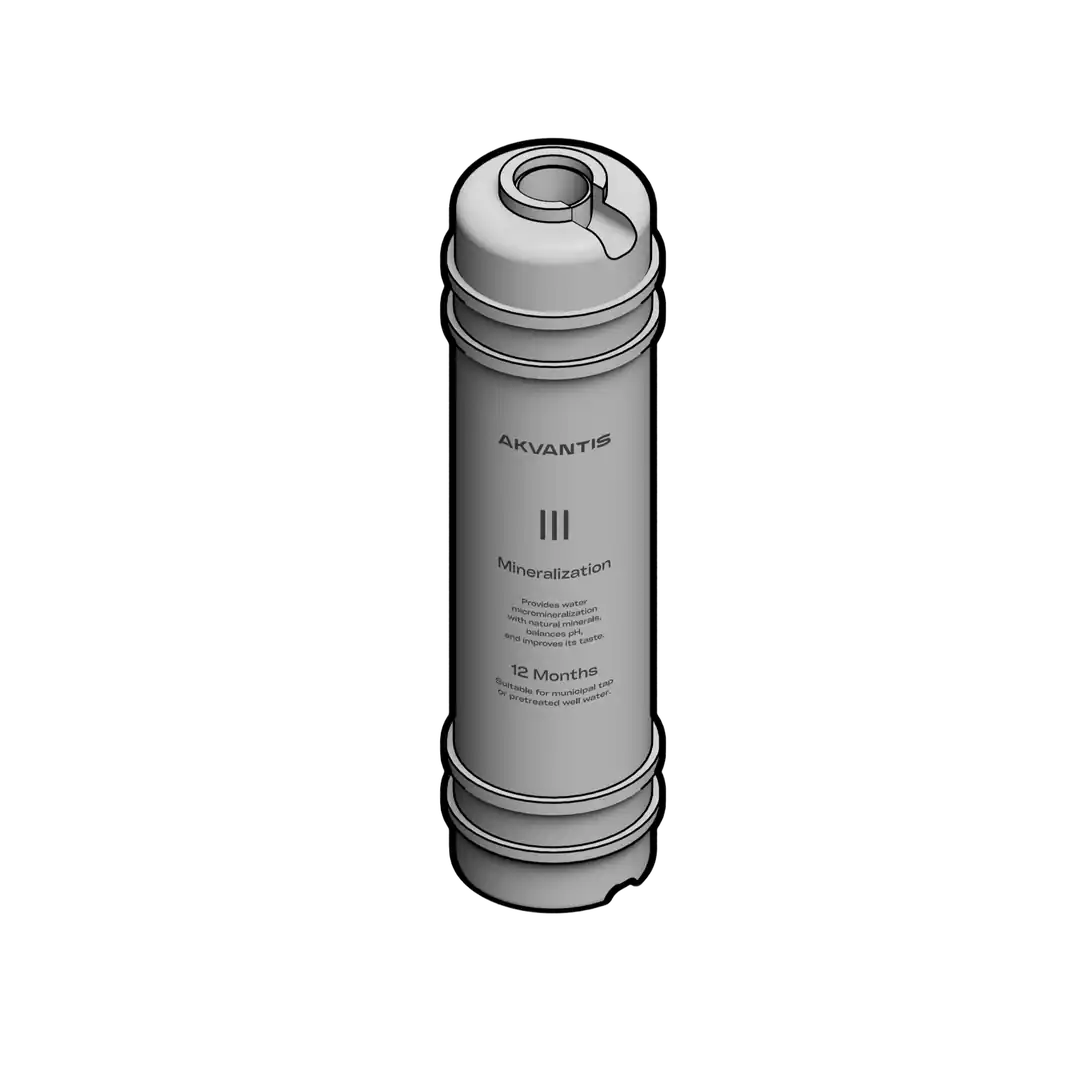 Mineralizator
 3/8" L-Type Connector
 1/4" L-Type Connector
 Inlet 3-Way Ball Valve
 3/8" Straight Connector
 3/8" × 3/8" Connector3/8" × 1/4" Connector
 Thread Adapter 1/2" → 3/8"
 Thread Adapter 3/8" → 1/2"
 Clip 3/8"
 Clip 3/8"
 Clip 1/4"
 3/8" PE Tubing
 3/8" PE Tubing
 1/4" PE Tubing
 Tube Key
 Drain Saddle
Tools required
 Drill Driver
 Ø6
 Ø12
 Wrench
 Screwdriver
Overview
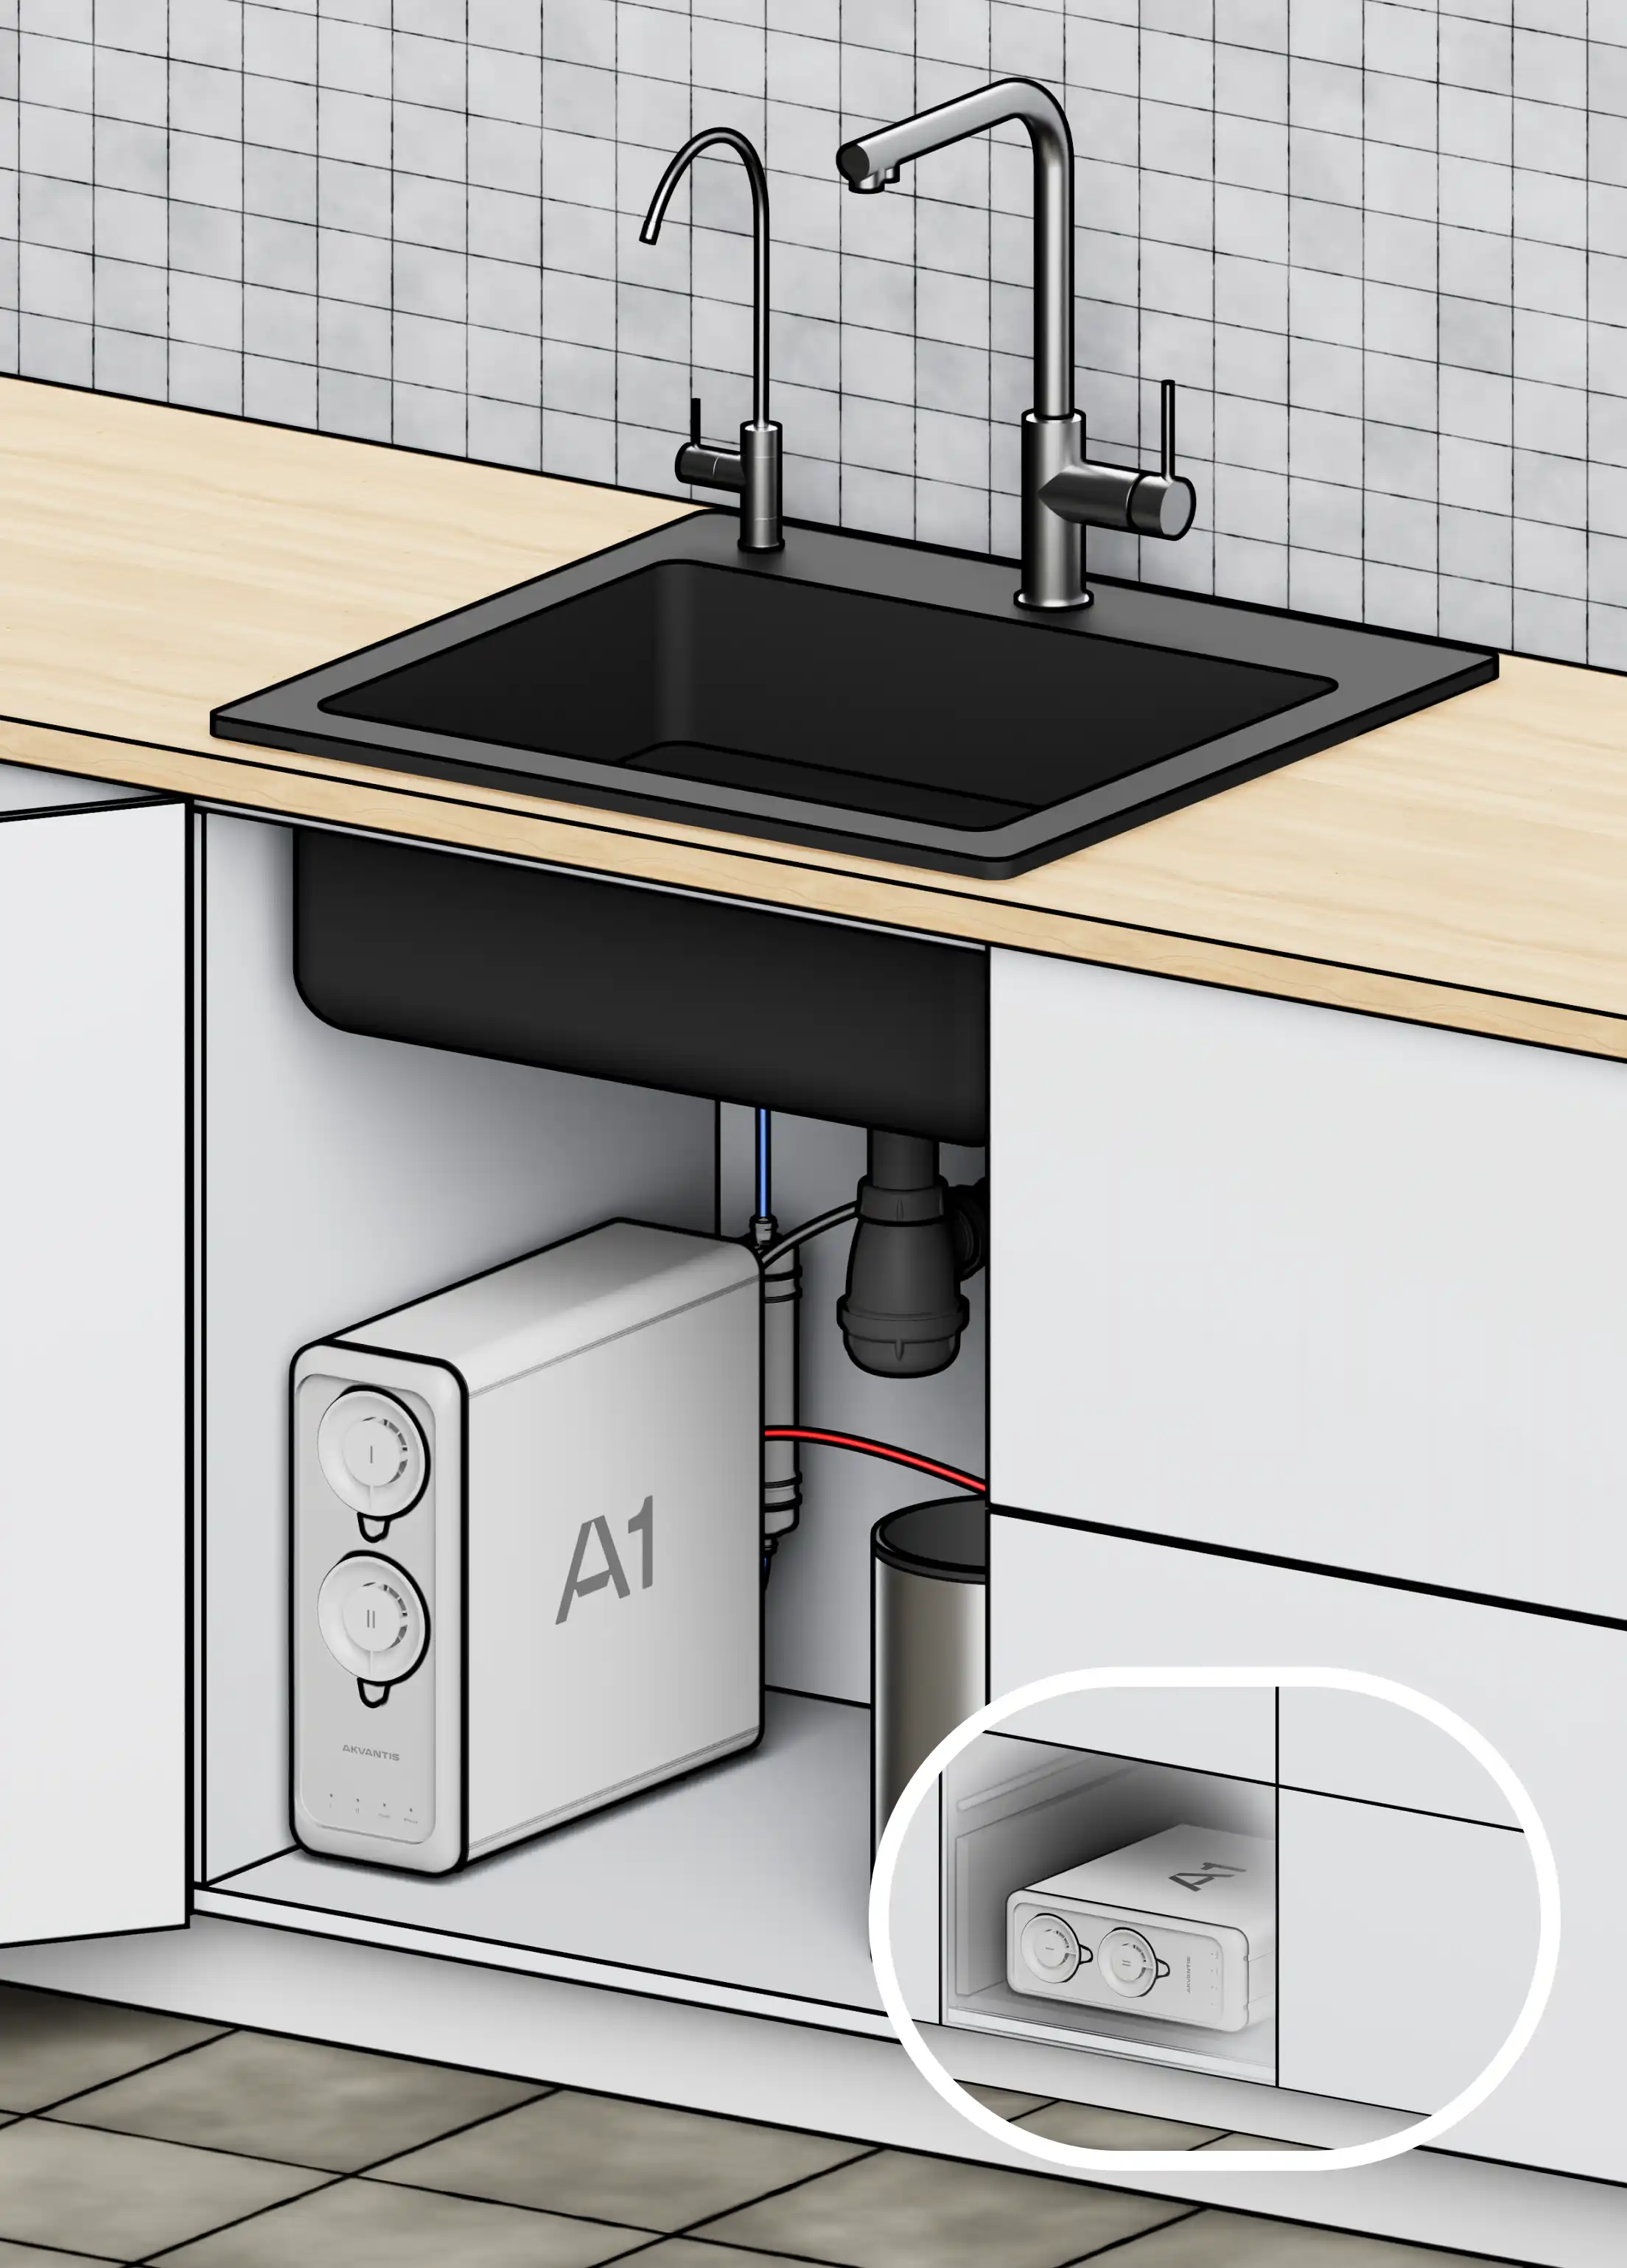
Installation
Faucet K1
 1
 2
 3
 4
 5
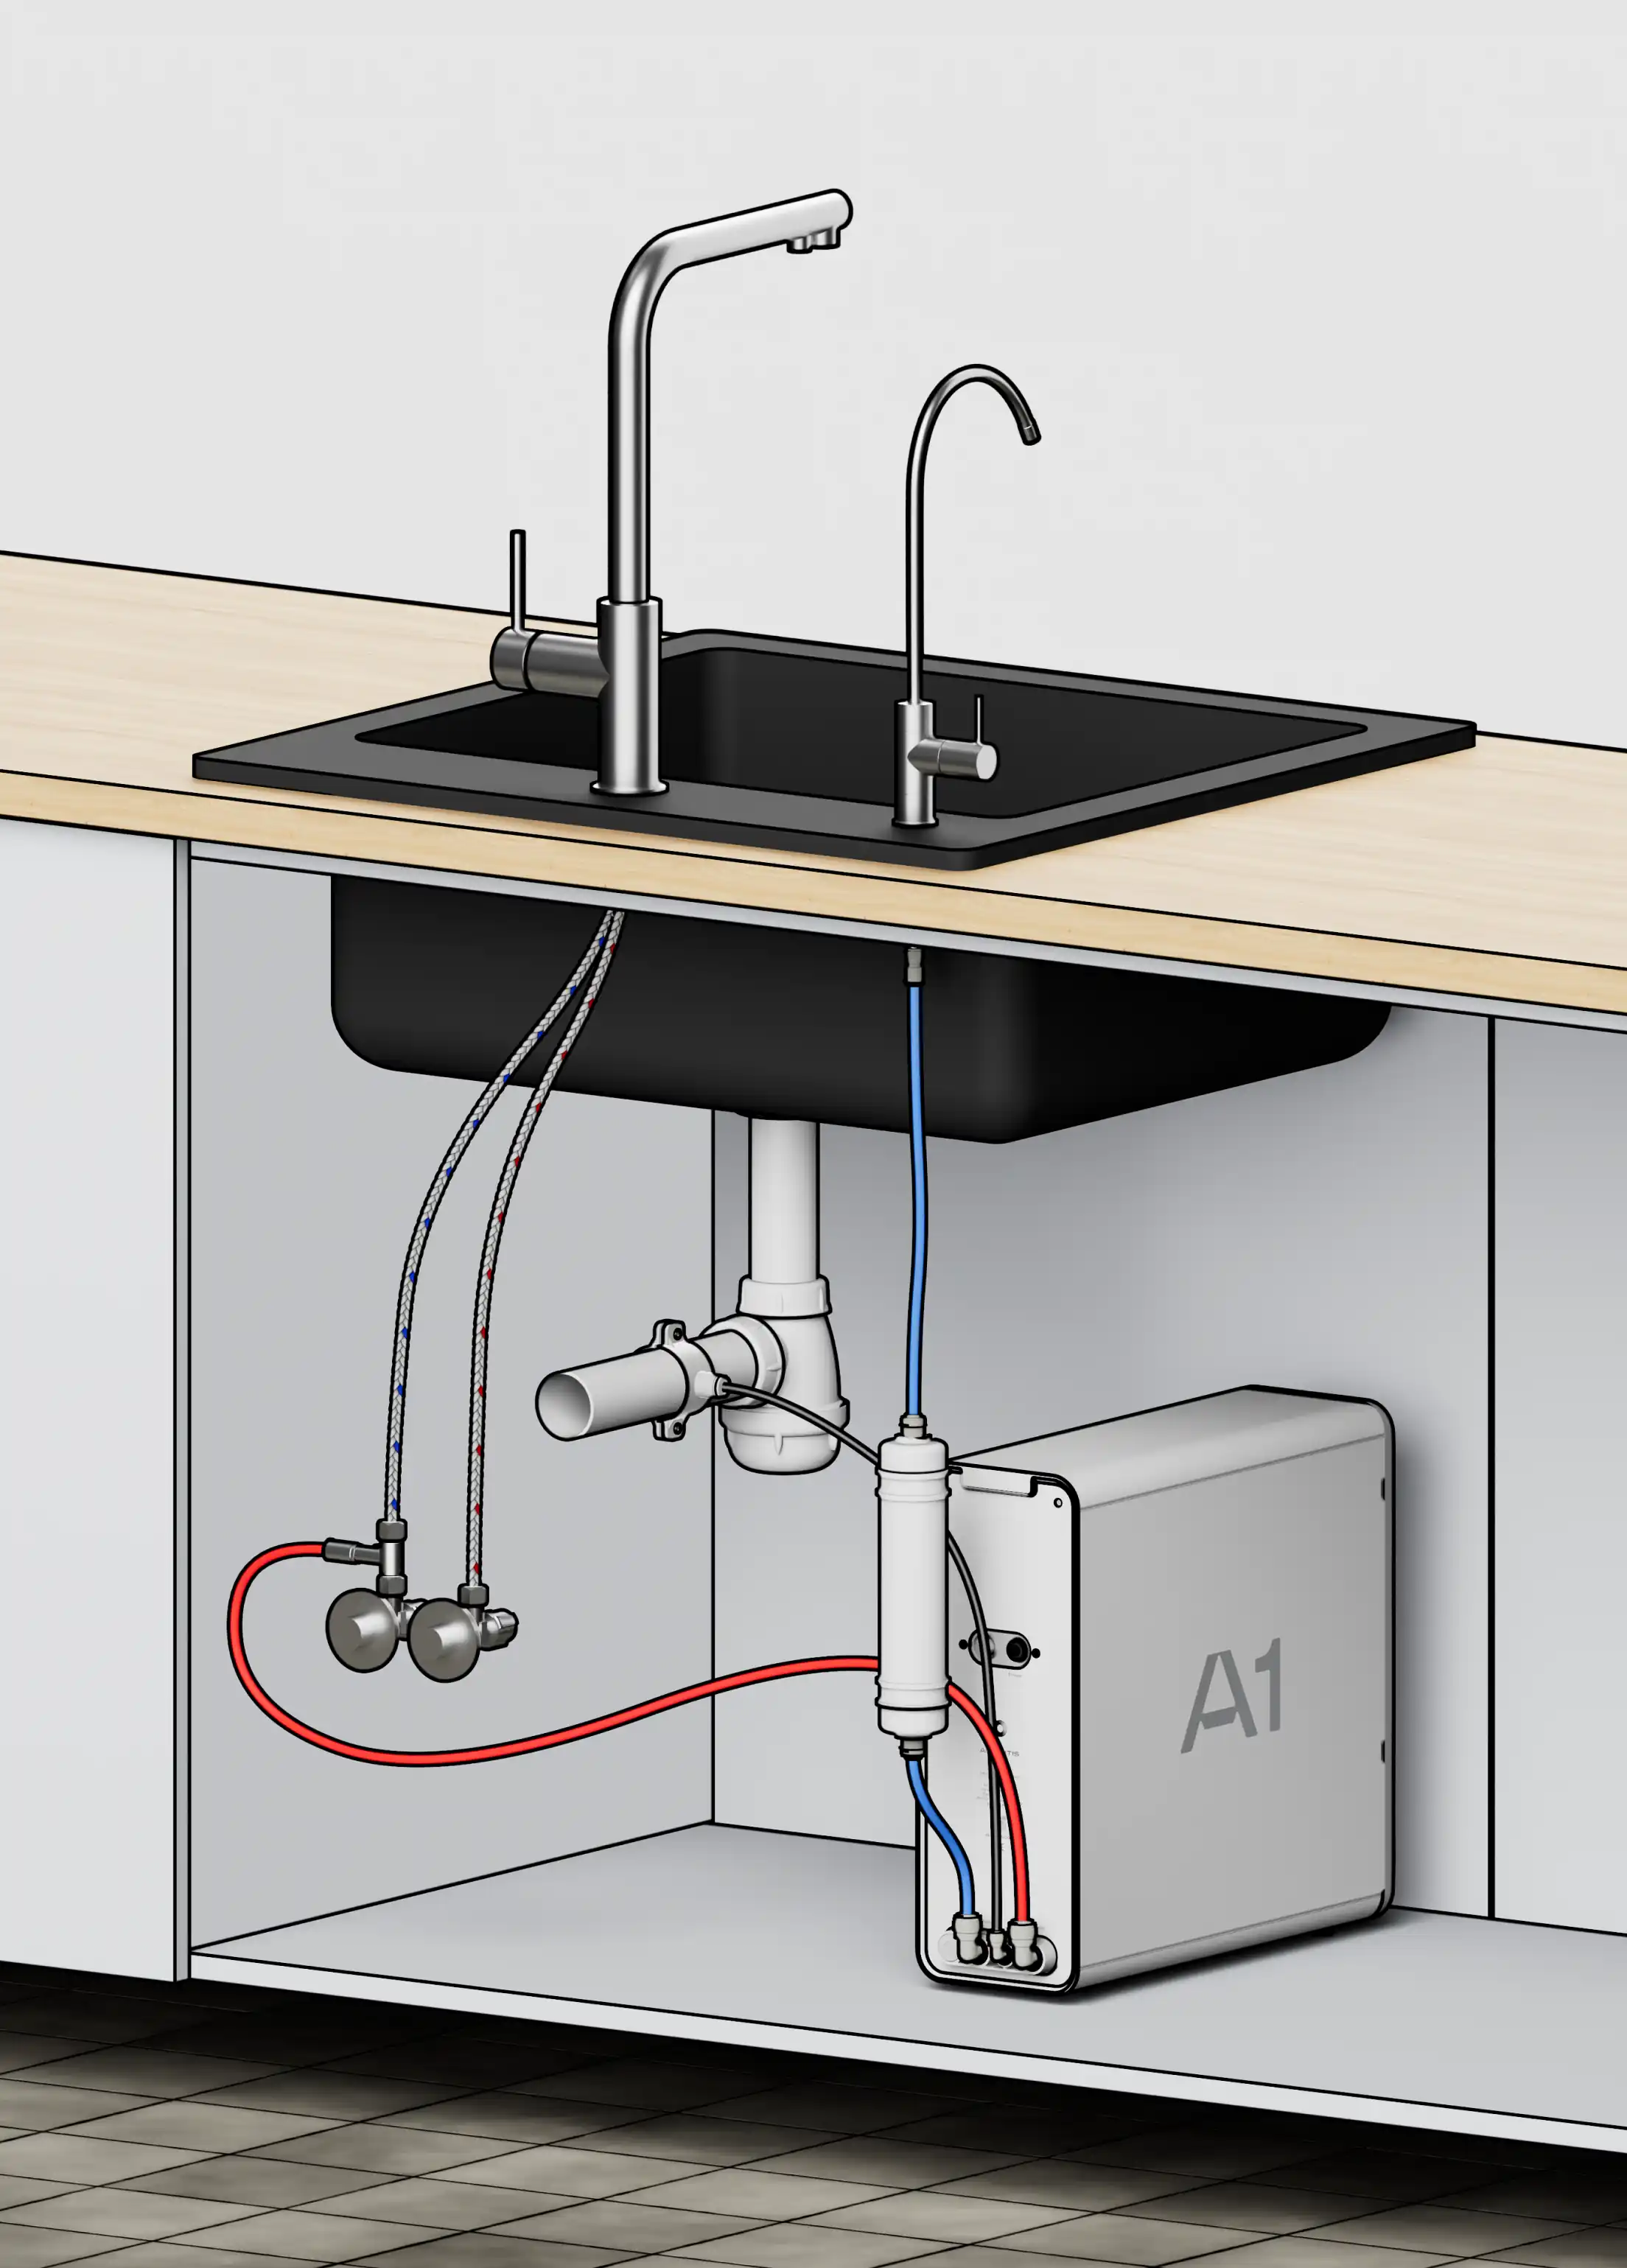
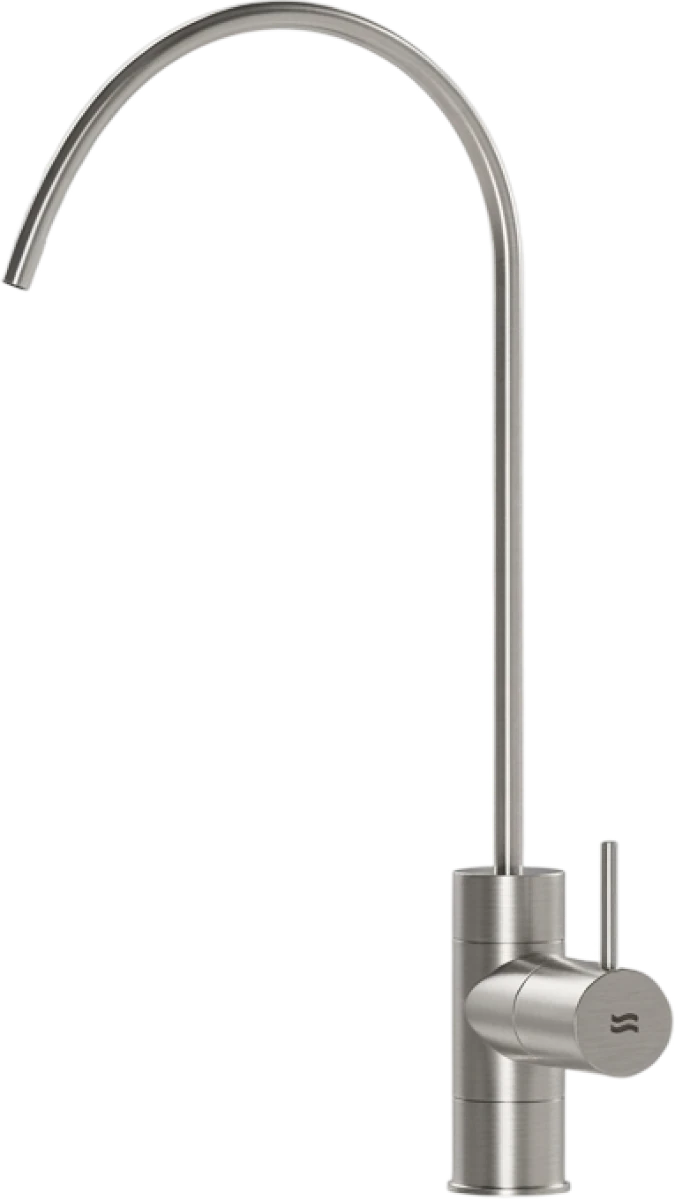
Faucet K3
 1
 2
 3
 4
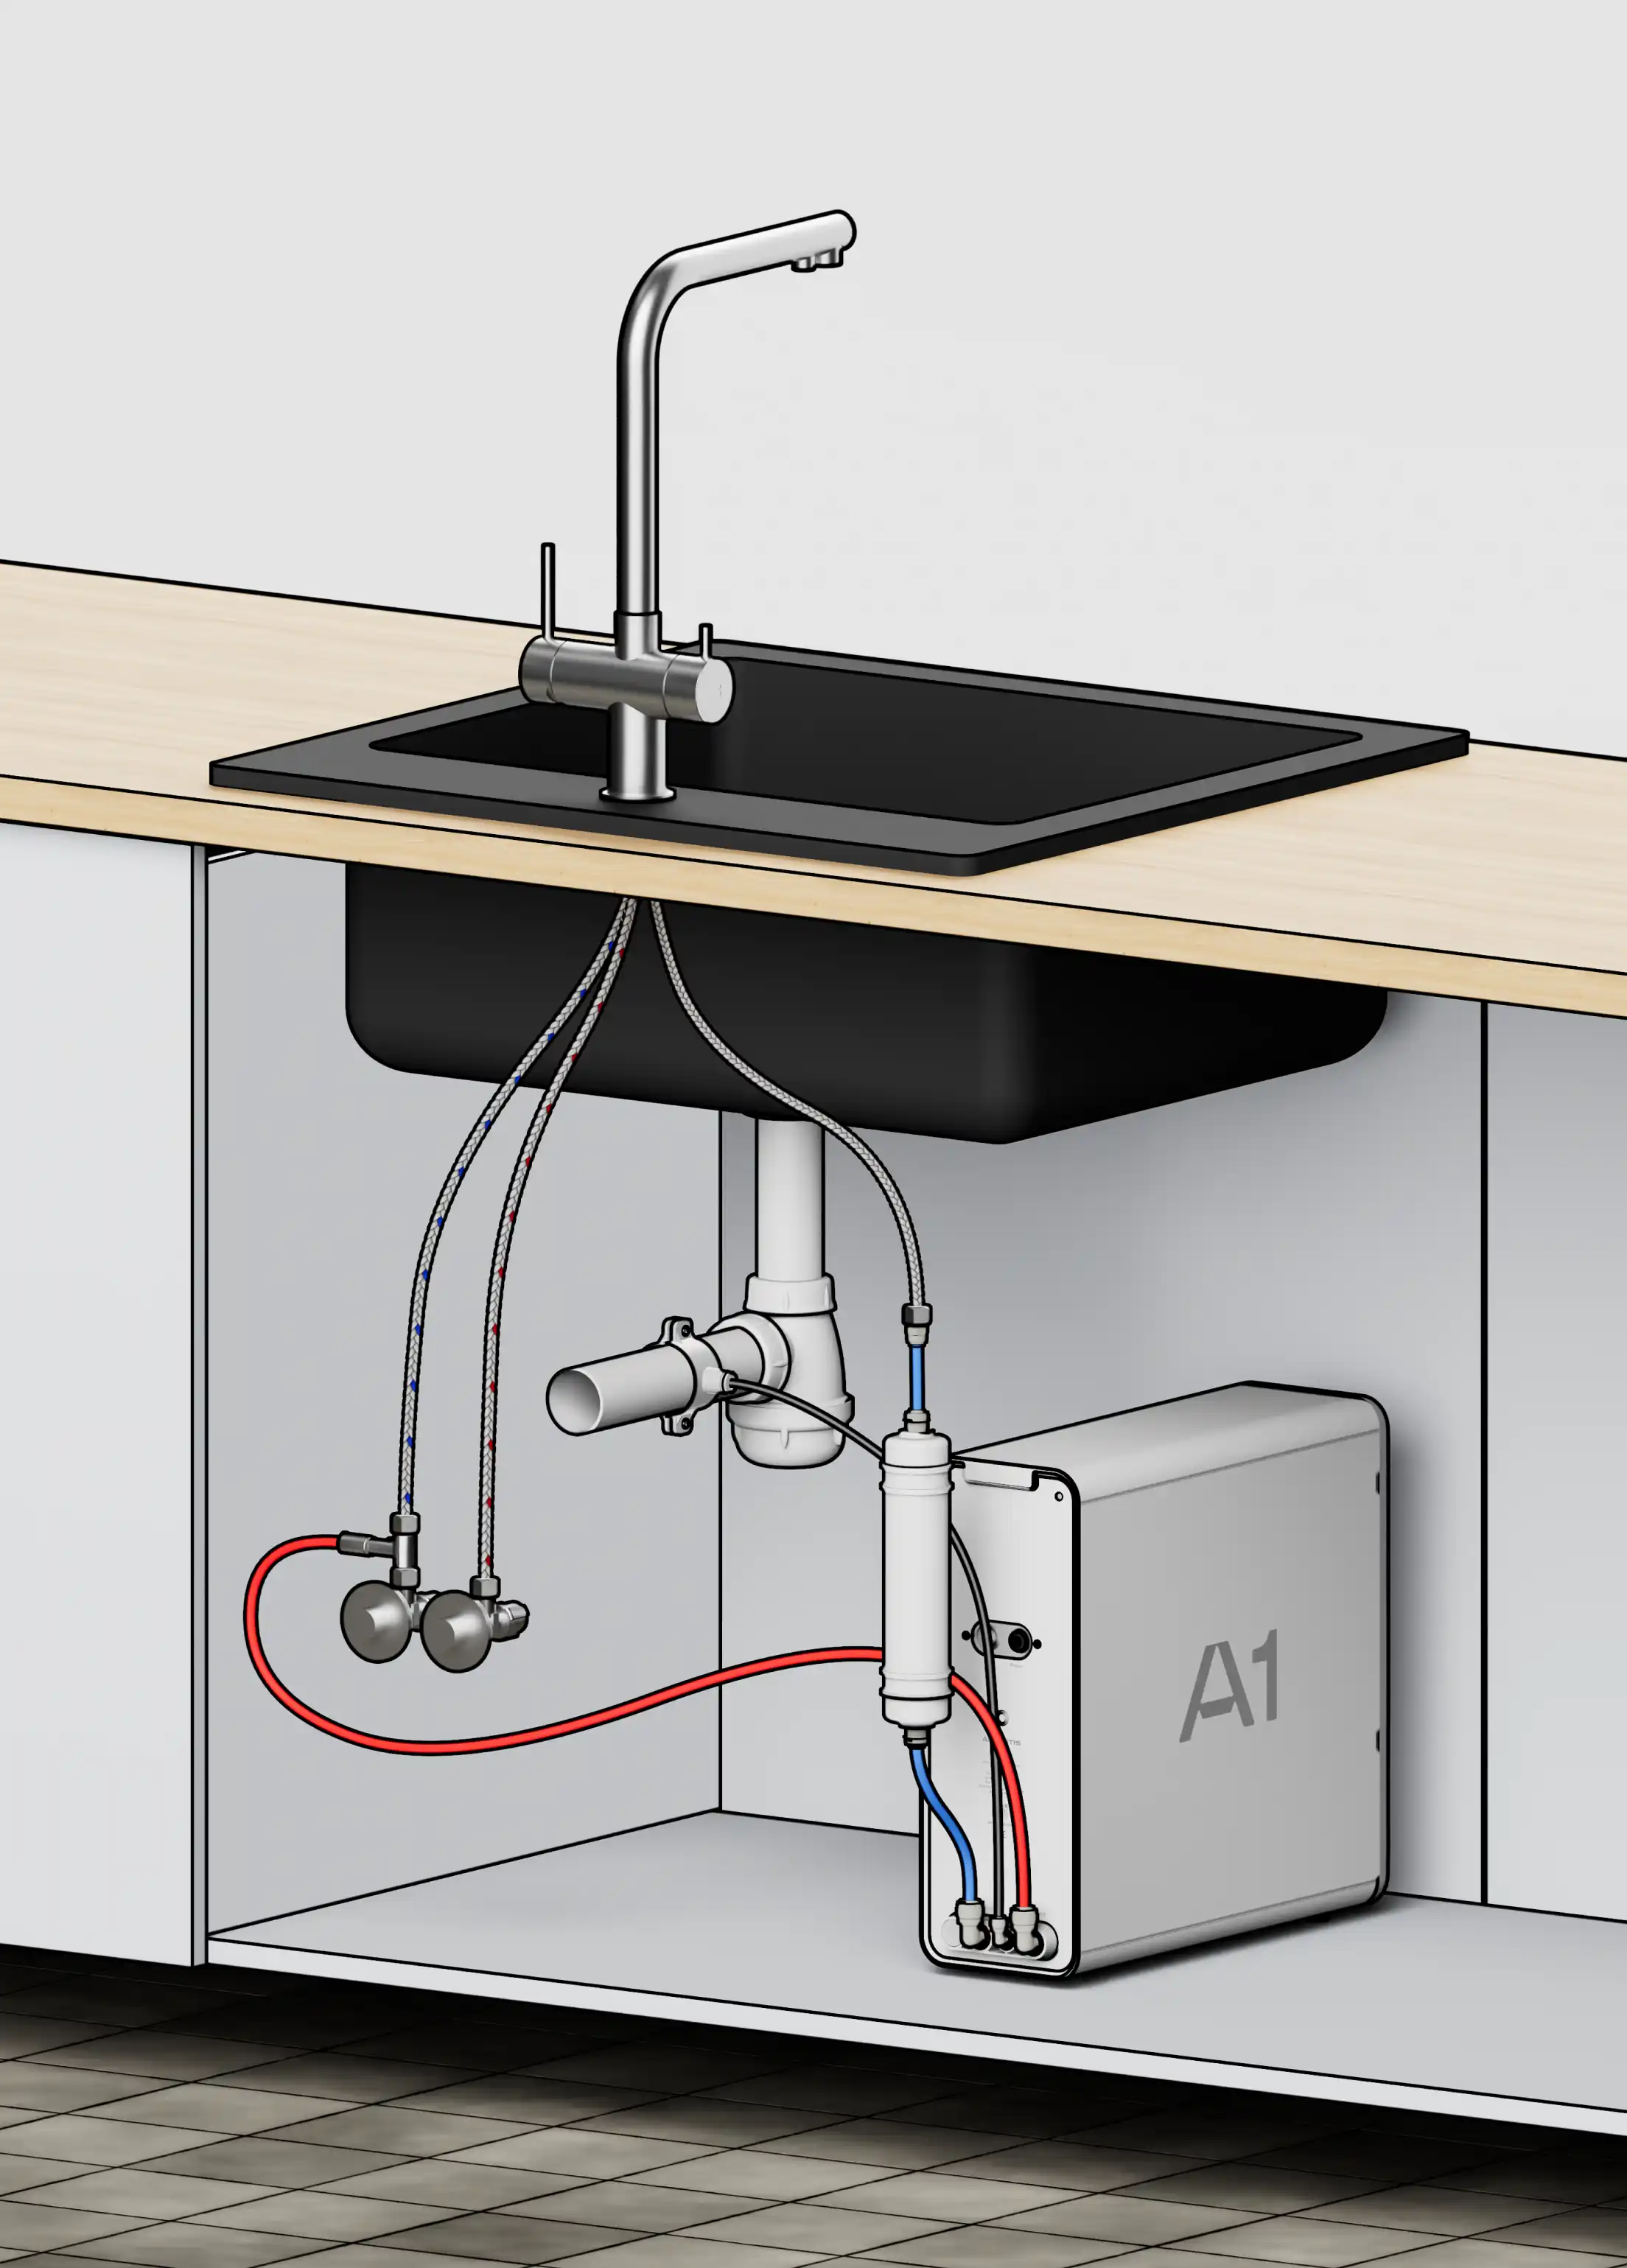
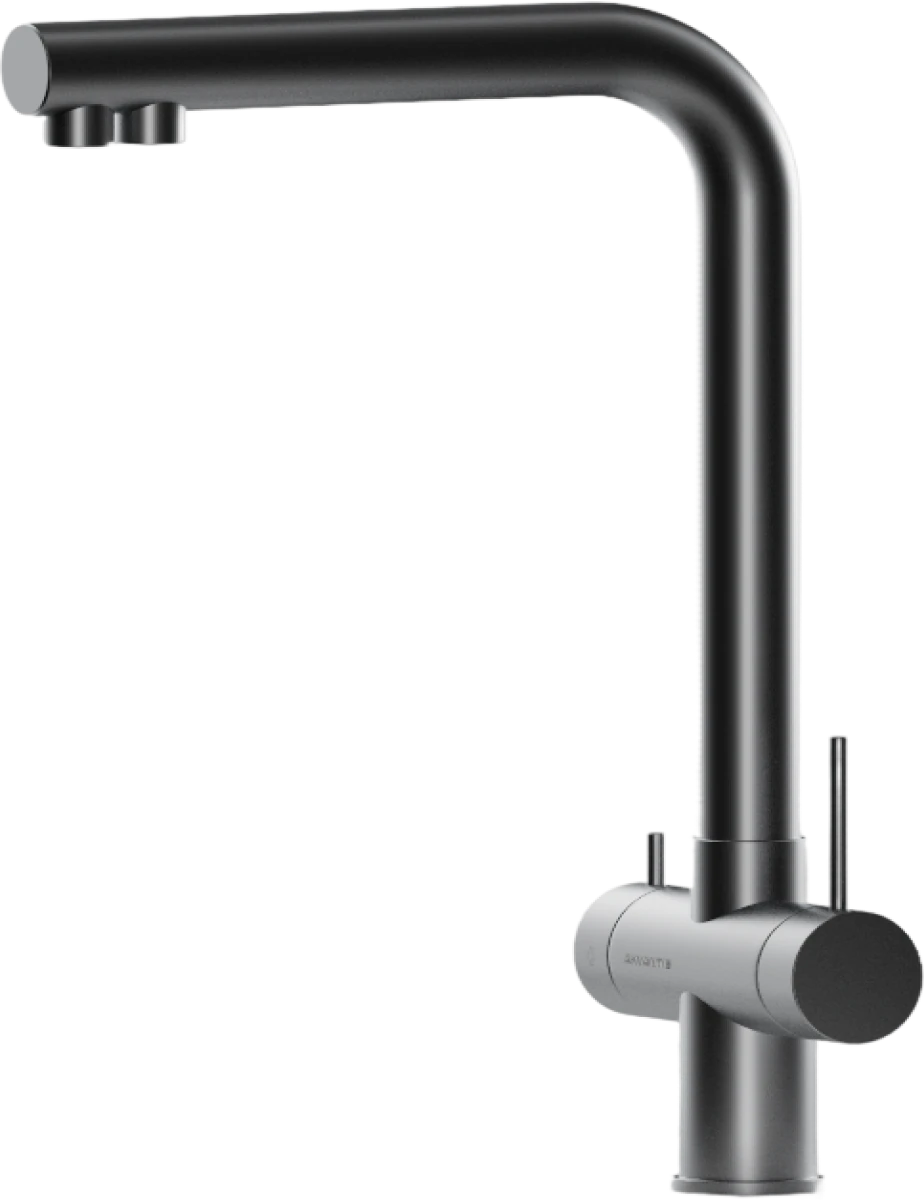
Valve
 1
 2
 3
 4
 5
 6
Drain
 1
 2
 3
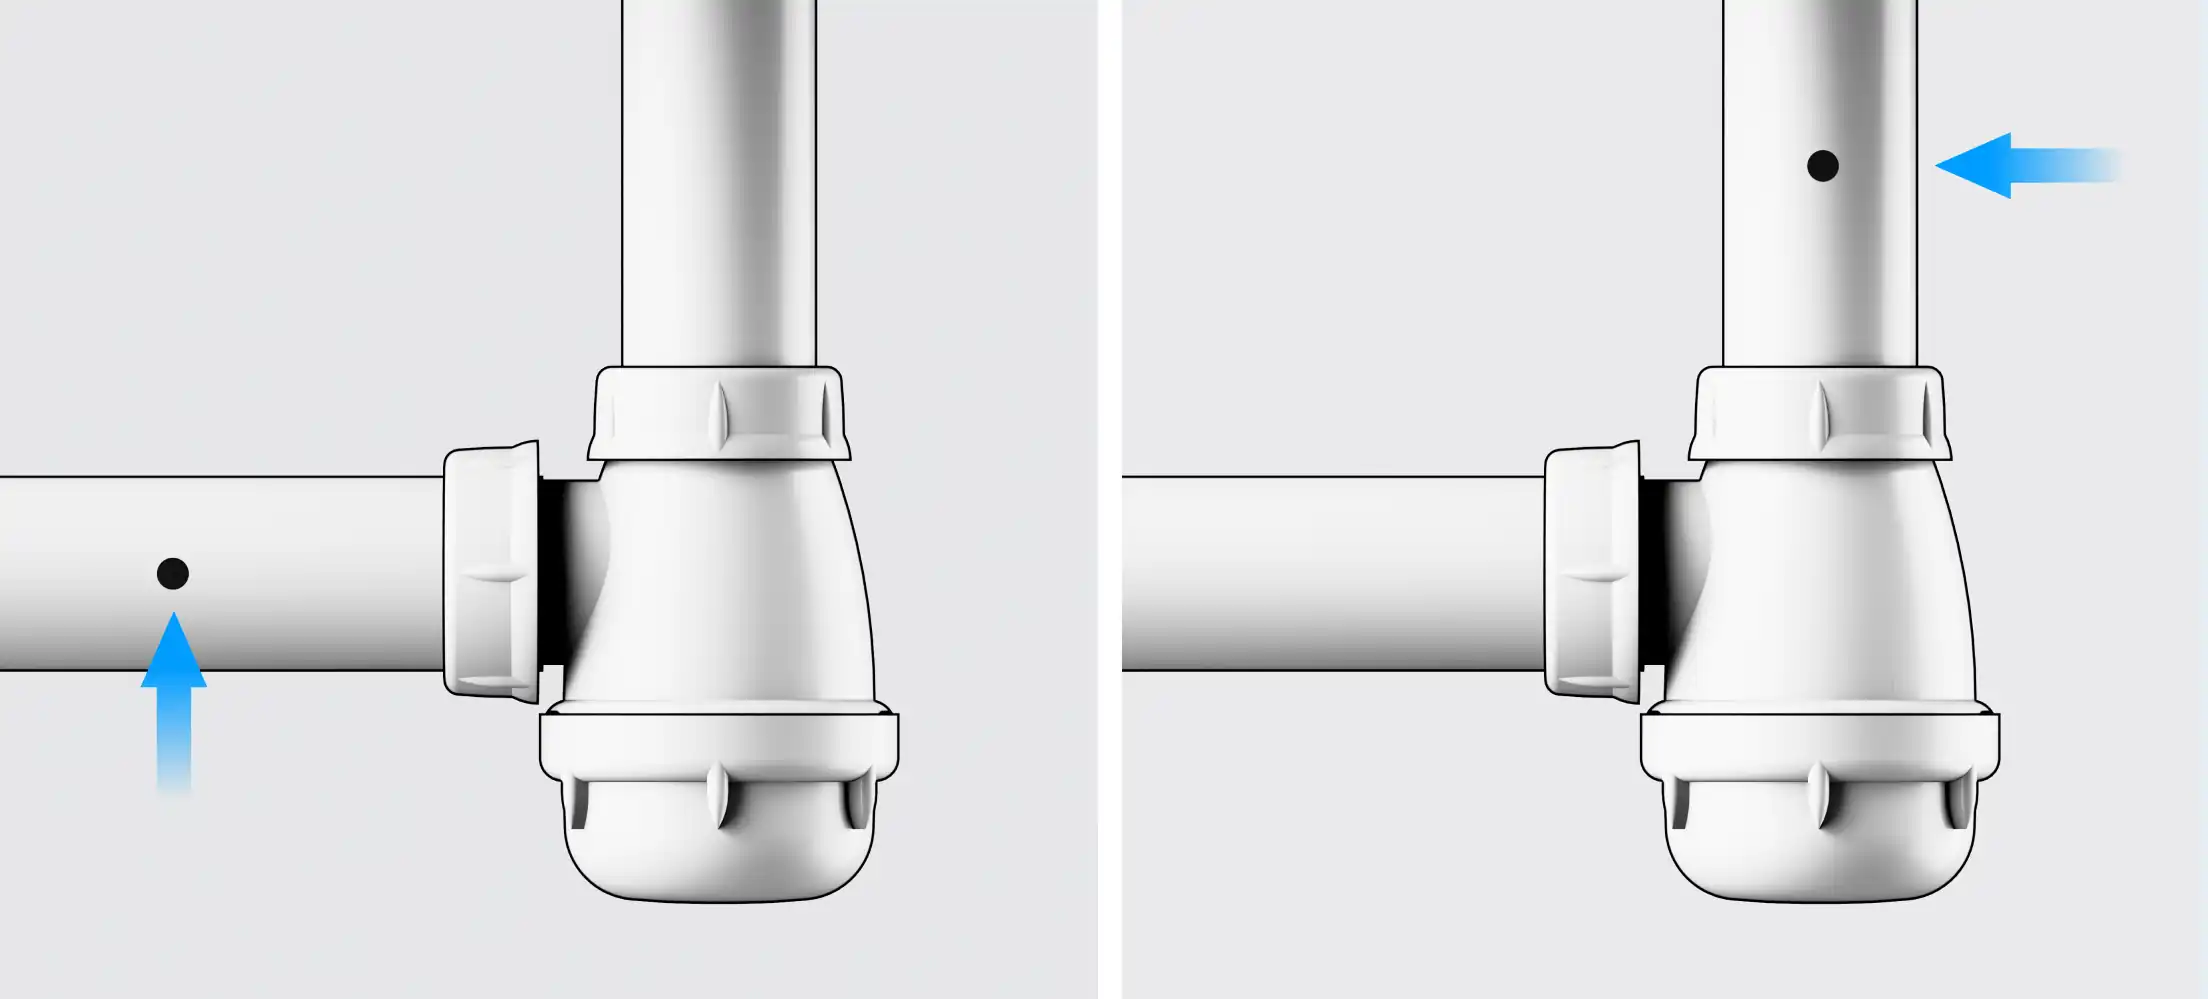
Tubes
 1
 2
 3
 4
 5
 6
 7
 8
Mineralizator
 1
 2
 3
 4
 5
First Start
 1
 2
 3
 4
 5
 6
 7
Service
 1
 2
 3
 4
 5
 6
Troubleshooting
Unit fails to turn on
The power supply is not connected or the switch is not turned on.
Check whether the power plug is loose or not plugged in, and whether the power switch is turned on.
Adapter failure.
Check whether the adapter indicator is off.
Water leakage
Component damage.
Turn off the power and close the inlet valve. Contact after-sales support.
The filter cartridge or water pipe is not connected properly.
Check whether the filter cartridge is installed properly and whether the water pipe connection is loose.
No water
Cold water valve or 3-way ball valve is off.
Please open the corresponding valve.
Low water flow
Pipe bending.
Check inlet, waste, and pure water pipes.
3-way ball valve is not fully opened.
Ensure the inlet 3-way ball valve is completely open.
Filter cartridge clogging.
Replace or contact after-sales personnel.
Poor water quality
Filter cartridge failure.
Replace or contact after-sales personnel.
Poor inlet quality.
Please confirm the water quality of tap water and consider installing a pretreatment device.
Unit keeps restarting
The faucet is not fully turned off.
Please turn off the faucet.
Leakage in the pure water outlet pipeline or faucet of the machine.
Please replace the leaking parts.
| Issue | Possible cause | Solution |
|---|---|---|
| Unit fails to turn on | The power supply is not connected or the switch is not turned on. | Check whether the power plug is loose or not plugged in, and whether the power switch is turned on. |
| Adapter failure. | Check whether the adapter indicator is off. | |
| Water leakage | Component damage. | Turn off the power and close the inlet valve. Contact after-sales support. |
| The filter cartridge or water pipe is not connected properly. | Check whether the filter cartridge is installed properly and whether the water pipe connection is loose. | |
| No water | Cold water valve or 3-way ball valve is off. | Please open the corresponding valve. |
| Low water flow | Pipe bending. | Check inlet, waste, and pure water pipes. |
| 3-way ball valve is not fully opened. | Ensure the inlet 3-way ball valve is completely open. | |
| Filter cartridge clogging. | Replace or contact after-sales personnel. | |
| Poor water quality | Filter cartridge failure. | Replace or contact after-sales personnel. |
| Poor inlet quality. | Please confirm the water quality of tap water and consider installing a pretreatment device. | |
| Unit keeps restarting | The faucet is not fully turned off. | Please turn off the faucet. |
| Leakage in the pure water outlet pipeline or faucet of the machine. | Please replace the leaking parts. |
Indicators
Indicator
- on
- flashing
- breathing
I · II Filter
- Filter OK
- Replace soon
- Replace now
Flush
- Ready
- Flushing
- Fault
Power
- Standby
- Working
- Fault
All flashing + beep
- Water ran 30 min non-stop — restart the unit
- Leak detected — close inlet valve, restart
Filters & specs
 230 V~ 50 Hzsupply
 1–4 barinlet pressure
 4–9 barworking pressure
 5–38 °Cfeed water
 2–45 °Cambient
 5 yearswarranty


Do not dispose of with household waste.Take the unit to a collection point for electrical and electronic equipment (WEEE).
Unit 126 × 364 × 339 mm (W × D × H), 6.78 kg · Feed water: municipal tap or pretreated well water.